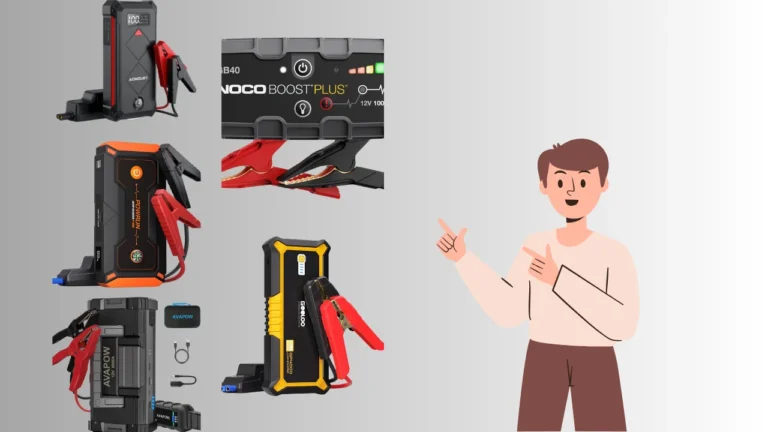
Getting stuck with a dead battery isn’t fun, but knowing how to jump start a car with another car can save you stress. Most car batteries only last 3-5 years, so it’s smart to be prepared. You’ll need jumper cables, a second vehicle, and around 15 minutes to get rolling again. Need to jump-start a 24V battery with a 12V system? Learn how to do it safely by reading our guide on how to jump-start 24V with a 12V battery.
The steps are straightforward—park close, clip the cables in order, and let the engine idle. In 90% of cases, your car will start if done correctly. If it doesn’t, give it another try after a few more minutes of charging time.
How often can I jump-start a battery?
There’s no fixed limit to how often you can jump-start a battery, but frequent jump-starting suggests an underlying problem, such as a weak battery or a faulty alternator.
Repeated jumps can reduce the battery’s lifespan and potentially cause damage to your vehicle’s electrical components. If you find yourself jump-starting often, inspect the battery for corrosion and ensure all connections are tight.
Tools Required
When your car won’t start, knowing what tools you need makes a world of difference. I’ll walk you through the essentials that will save you time, effort, and frustration. Trust me, having these items handy means you won’t be scrambling in the moment.
Using good jumper cables is crucial—look for ones that are 10 to 20 feet long to ensure they reach between vehicles. Thicker cables, like 4-gauge, transfer power efficiently. This small detail makes starting your dead battery much smoother.
- Jumper cables: Preferably 10-20 feet long and 4-gauge for efficient power transfer.
- Safety gloves and goggles: Essential to protect against sparks or battery corrosion.
- A working vehicle: Ensure it has a 12-volt battery (common in most modern cars).
- Wire brush (optional): Useful for cleaning corroded battery terminals.
Step-by-Step Guide: How to Jump Start a Car with Another Car
Knowing how to jump-start a car is a crucial skill for every driver. This section will walk you through the process in easy steps. Stick to these, and you’ll be back on the road in no time!
Step 1: Position the Cars
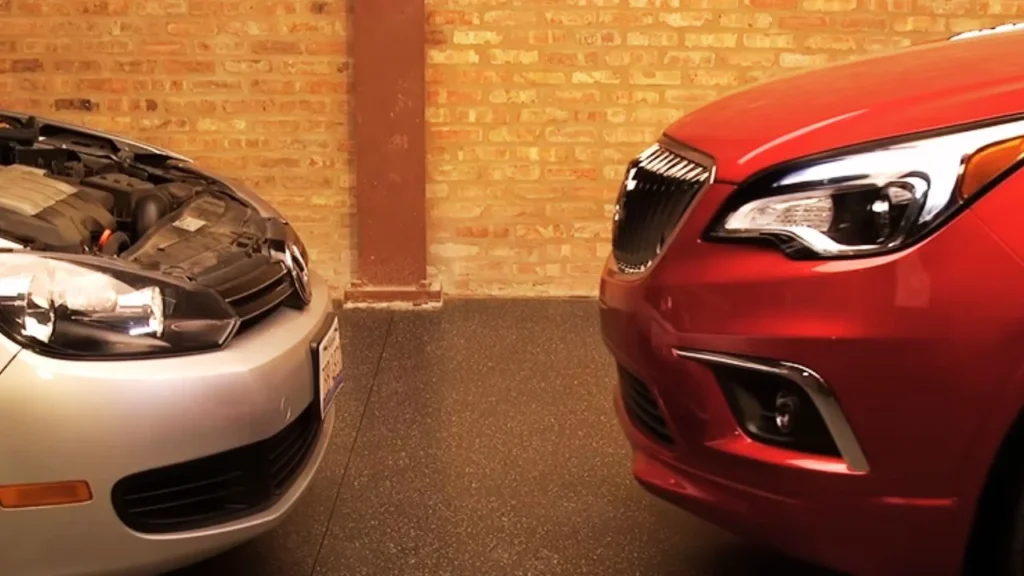
The first thing I do is park both cars nose-to-nose or side-by-side, making sure they’re close enough for the jumper cables to reach but not touching. I engage the parking brakes and switch off both engines for safety. Trust me, getting these basics right saves so much hassle later.
Step 2: Attach the Red Clamps
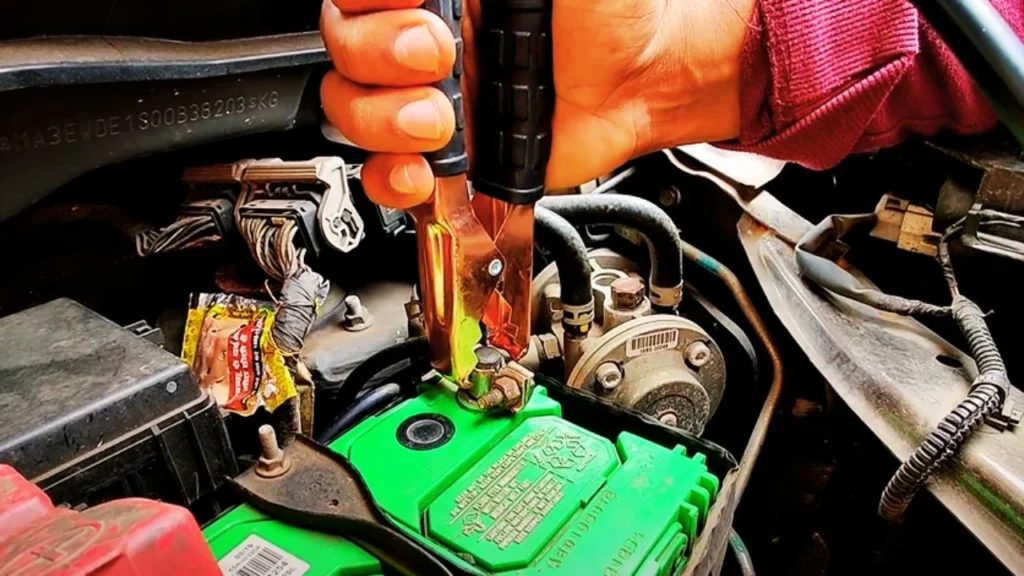
Next, grab your jumper cables and follow this exact order! First, connect the red clamp to the positive terminal on the dead battery. Then, attach the other red clamp to the positive terminal on the working battery. This ensures the current flows properly from the good battery to the dead one.

Step 3: Connect the Black Clamps
Now, let’s handle the black clamps. I start by clamping one black end to the negative terminal on the working battery. Instead of connecting the other black clamp to the dead battery directly, I attach it to a clean, unpainted metal part on the engine block or frame. This little trick helps prevent sparks around the battery’s flammable gases.
Step 4: Start the Working Car
With everything connected, fire up the good car’s engine and let it idle for 2 to 5 minutes. It’s important to give the dead battery enough time to gather some juice. Pro tip: If the battery is really low, I rev the working car’s engine slightly to speed up the charging process.
Step 5: Start the Dead Car
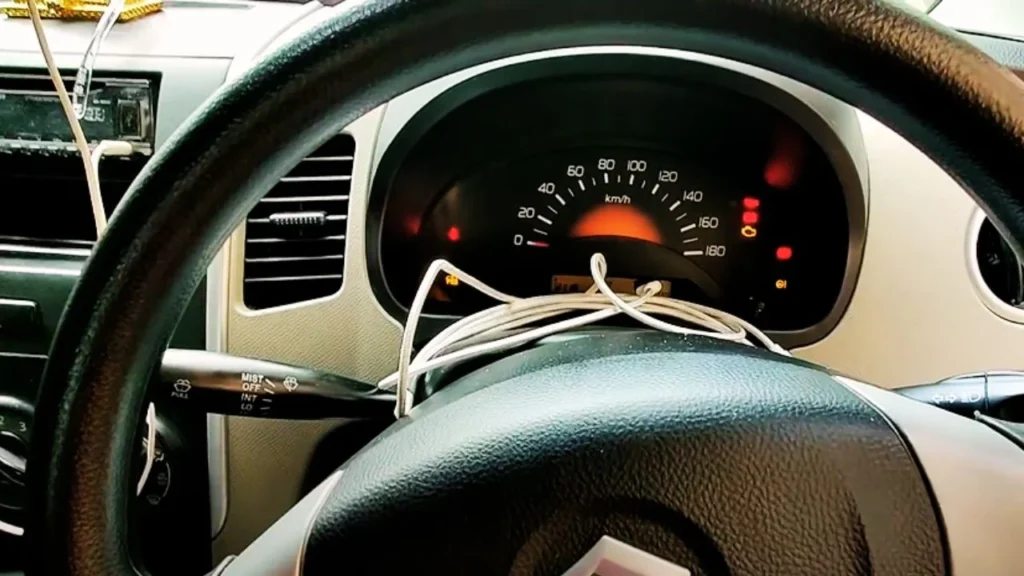
Now for the moment of truth—try starting the dead car! If it roars back to life, great! Keep both cars running for another 10 to 15 minutes to stabilize the dead battery. If not, don’t panic—just check the cables again and let the working car run a little longer.

Step 6: Disconnect the Cables
Finally, remove the cables in the reverse order: start with the black clamp on the metal frame, followed by the black clamp on the working car, and finish with the red clamps. I always make sure the clamps don’t touch each other during removal to avoid accidental sparks.
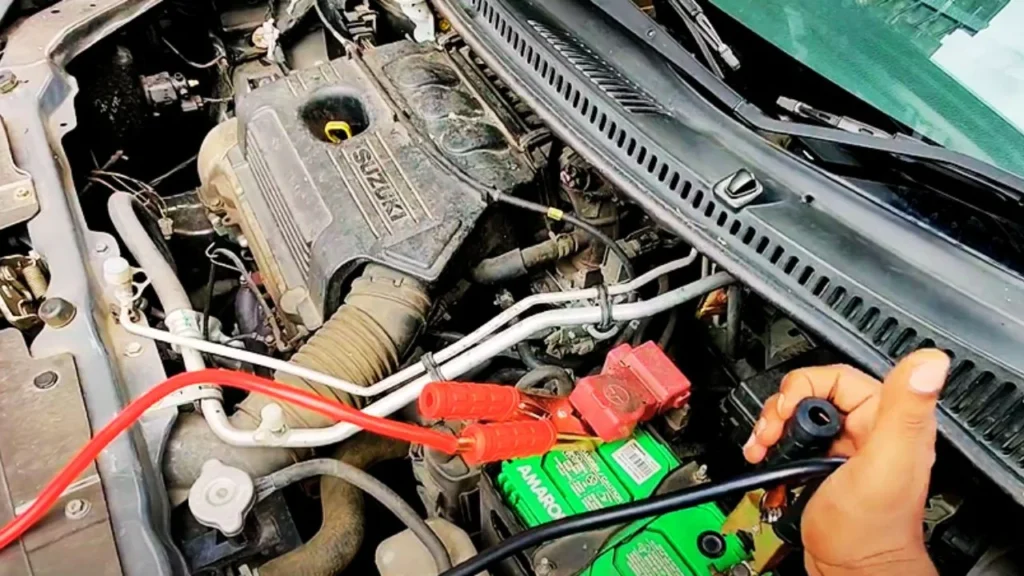
Step 7: Let the Car Run
If everything’s smooth, let the revived car idle for a while or take it for a drive. This allows the alternator to fully recharge the battery and reduces the risk of it dying again soon after. And there you have it—mission accomplished!

Using a battery pack to jump-start your car can be a lifesaver. Discover the steps in our guide on how to jump-start a car with a battery pack.
Troubleshooting Tips
Even if you’ve connected everything right, jump-starts don’t always go smoothly. Trust me, I’ve been there, standing in the cold, wondering why the engine won’t start! But don’t worry—there are a few things you can try before throwing in the towel.
With some patience and tweaks, your car should be up and running in no time. Let’s dive into what you can do when things don’t go as planned.
- Be Patient and Wait
If the car doesn’t start immediately, give it more time. Sometimes, it takes 15 minutes of running the working car to transfer enough charge. I’ve been there—it can feel like forever, but it works most of the time!
- Check the Cable Connections
Even a single loose clamp can prevent the jump-start. Make sure all cables are properly connected, with red to positive and black to a metal surface. It’s worth spending 5 minutes double-checking everything before giving up.
- Listen for a Clicking Sound
A clicking sound means the battery is still struggling but isn’t completely dead. In this case, rev the working car’s engine for another 2-3 minutes. It often just needs a little extra push to get going.
- Look Out for Other Problems
If nothing happens even after 10-15 minutes, the problem might not be the battery. It could be a faulty alternator or starter. If the car starts, drive it to a service centre ASAP. If it doesn’t, professional help is your best bet.
- Know Your Odds
This method works 90% of the time, based on my experience. However, if your battery is beyond saving, even the best jump won’t help. In that case, a new battery or roadside assistance will be the way to go!
Aftercare and Maintenance
Jump-starting a car is just the beginning. To avoid more roadside troubles, your car’s battery needs some attention even after it’s up and running. Let’s go over what you need to do to keep things running smoothly and make sure your battery stays healthy.
Take It for a Drive
Once your car is running, take it out for a 15-20 minute drive. This helps the alternator recharge the battery, lowering the chance it will drain again. Think of it like giving your battery a quick warm-up after being dormant.
Check Your Battery’s Health
If your battery has died more than once recently, it’s a good idea to have it tested. Many auto parts stores offer free voltage checks. If it reads below 12.6 volts, you might be looking at a weak or failing battery. Better safe than sorry!
Keep Those Jumper Cables Handy
Store the cables neatly in your trunk—they could save the day. Make sure they’re at least 10 feet long so you can connect vehicles even in tight spots. Long cables are a real blessing during those awkward roadside emergencies.
Monitor the Battery Warning Light
After the jump, keep an eye on the dashboard. If the battery warning light stays on, your alternator might not be working right. Get it checked along with the battery to avoid future surprises on the road.
Clean Your Battery Terminals Regularly
Corrosion can build up fast, reducing your battery’s lifespan. A quick scrub with baking soda and water every few months can keep things running smoothly. Simple maintenance like this can extend your battery’s life by up to a year or more.
If you need a reliable solution for marine batteries, check out our recommendations for the best portable marine battery jump starter to stay prepared on the water.
Safety Guide for Jump-Starting a Car
Jump-starting a car involves electrical risks, so following safety precautions is essential to avoid injuries or damage. Proper handling of cables and batteries ensures a smoother, safer process. Here’s a quick guide to protect you when learning how to jump-start a car with another car.
- Check for Damage: Inspect both batteries for cracks, leaks, or corrosion. Do not attempt to jump-start a damaged battery.
- Wear Protective Gear: Use gloves and safety glasses to protect yourself from sparks or battery acid.
- Proper Cable Connection: Always connect the red cable to positive (+) terminals and black to negative (-) or a metal ground away from the battery.
- Avoid Sparks: Ensure the cables don’t touch each other during the process to prevent electrical shorts.
- Keep Flammable Objects Away: Avoid smoking or exposing batteries to flames during the jump-start.
- Disconnect in Reverse Order: Remove the cables in reverse to how they were connected to avoid electrical surges.
Final Words
So now you know how to jump start a car with another car—it’s easier than it sounds, right? Just follow those four connection steps carefully, and you’ll be back on the road in no time. With a good 15 to 20-minute drive afterward, you can ensure your battery is fully recharged.
I’ve personally found that knowing these steps can save you from waiting hours for roadside assistance. It’s not just useful—it’s essential! So, keep those jumper cables in your trunk, and you’ll always be prepared for emergencies.
Ali is a tech enthusiast and automotive aficionado, passionate about sharing insights on the latest innovations and industry trends.

